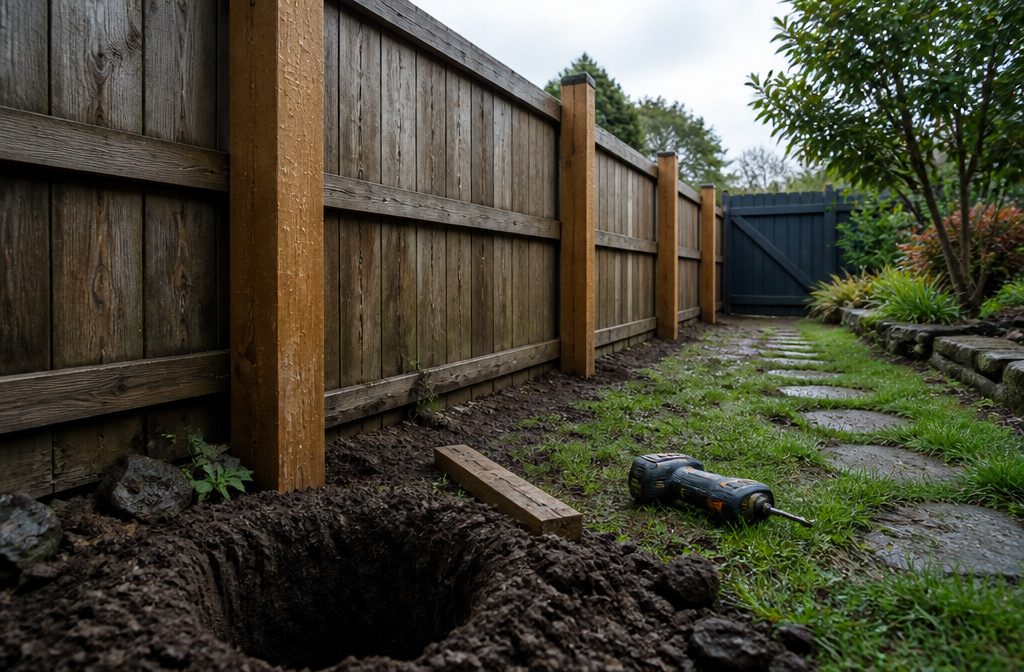
A 32-foot privacy fence takes 5 posts, 4 panels and a drill, plus overnight to 72 hours for the concrete to set.
Post holes are where people go wrong. 24 inches deep is the minimum for a 6-foot fence, and local frost depth can require more, so check with your county before buying posts.
1. Plan the Layout
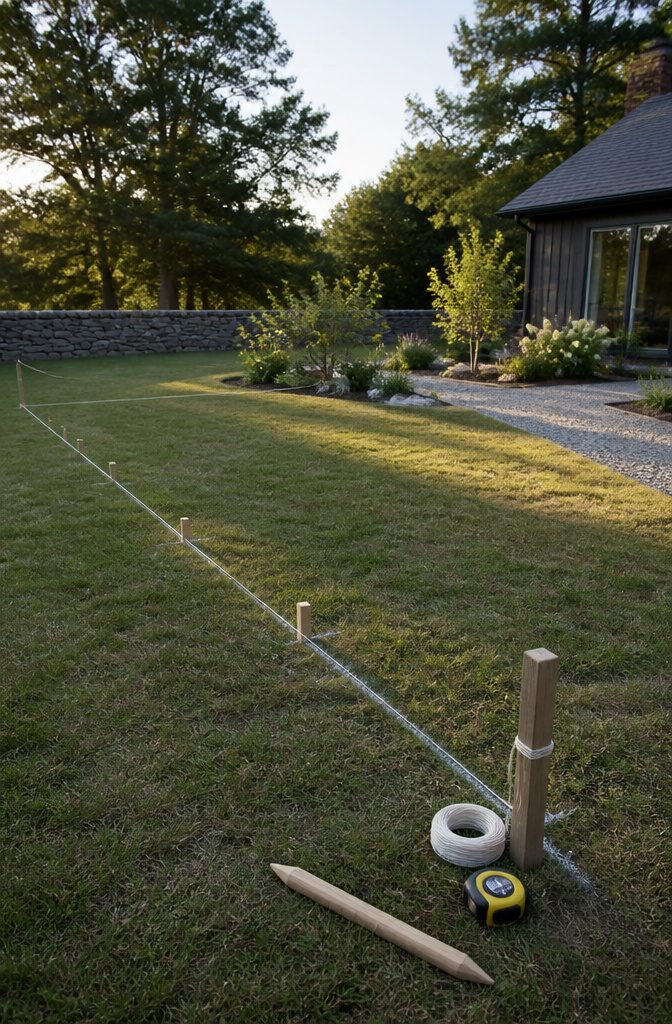
Locate your property pins, call 811 to have utility lines marked, and check local rules before settling on a layout.
Mark each run’s ends, corners and gate opening with chalk or spray paint. A single swing gate stays 4–5 feet wide and hangs on a 6×6 post on the hinge side.
Standard sections are 8 feet, with posts 8 feet apart on-center, so a 32-foot run takes 4 panels and 5 posts. Plan 17 pickets per section for the traditional 6-inch style and 22 for board-on-board.
A 1×6 is really 5½ inches wide, so 16 boards fill 88 inches between posts. Pull a string line along the run instead of guessing post spots by eye.
Recommended Products

TRUE ALL-ALUMINUM — BUILT FOR LONG-TERM VALUE: Ordinary steel or mixed-metal products can be progressing from surface corrosion to rust-through—often reported online within 0.5–2 years. So this is not simply about cosmetic maintenance—removing rust and repainting the surface. Once corrosion progresses to rust-through, the metal itself has deteriorated, potentially compromising the structural integrity and eventually requiring replacement of the affected component or structure. LukLoy post is built with a true all-aluminum structure for lasting outdoor over 30 years. it resists weathering, fading, and everyday exposure with less maintenance — a smarter long-term investment for your home.

Innovative Design: The fence post bracket set features a U-channel design—simply attach the brackets to the posts and slide in (3/4" x 5.5") wood planks to lock. Easy DIY installation and plank replacement, even for one person, saving time, effort, and labor costs in the short and long term

Innovative Design: The wooden fence panels posts features a U-channel design—simply attach the brackets to the posts and slide in (3/4" x 5.5") wood planks to lock. Easy DIY installation and plank replacement, even for one person, saving time, effort, and labor costs in the short and long term
2. Dig Post Holes 24 Inches Deep
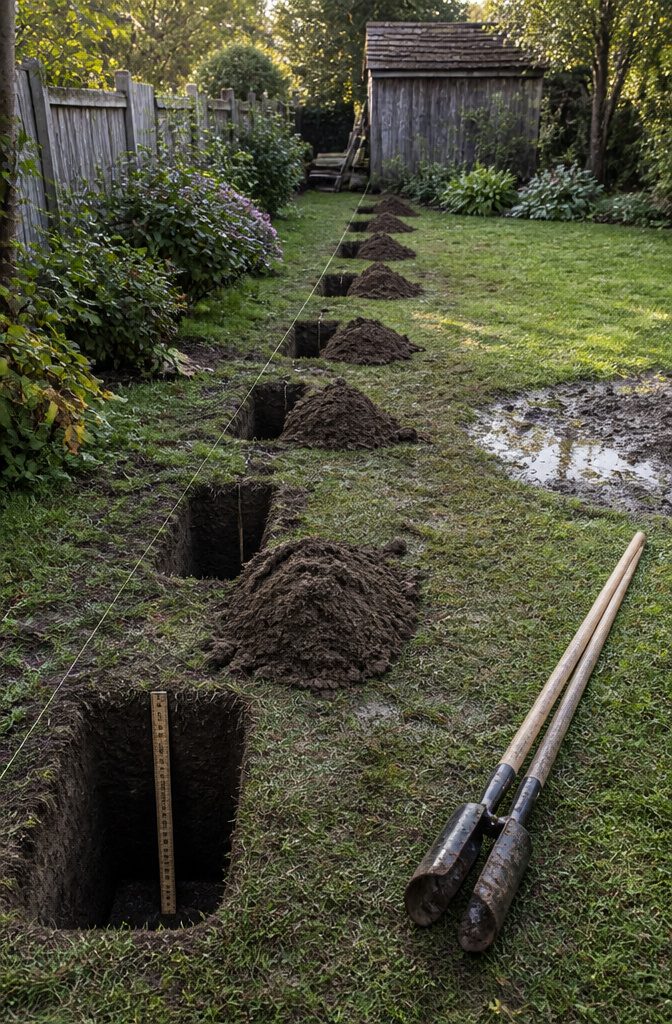
Call 811 again before any digging, even if you called during planning, since it tells you where you cannot dig. Then dig at each marked spot with a post hole digger, going about 24 inches deep for a 6-foot fence.
The standard is to bury one-third of the fence height, so 2 feet is the minimum. Local code and frost depth can require more, and I’d check both with your county before buying posts.
Space the holes to match your panel width.
For standard 8-foot sections, that means 8 feet apart on-center. Posts should finish with their tops 5 feet 7 inches to 5 feet 9 inches above ground, so a deeper hole calls for a longer post.
Recommended Products

Certified Safety – IBC/IRC/ASTM Compliant: Don't settle for "looks safe"—choose railing that's proven safe. This aluminum deck railing has been ASTM tested for strength and reliability, with 36" height, <4" baluster spacing designed to meet key safety requirements. Unlike railings that simply advertise “safe”, Egadis is backed by third-party testing to give families real confidence. A dependable choice for families, homeowners, and outdoor spaces where safety matters most. For commercial use or CA/WA projects, choose the 42" option to meet local requirements.

Sufficient Quantity: our product package includes 4 x Vinyl pocket rails; These are precision-crafted and come in an aesthetic white color adding value and elegance to your property; Trust our quality and design to provide your property with an attractive, durable and secure construction

Certified Safety – IBC/IRC/ASTM Compliant: Don't settle for "looks safe"—choose railing that's proven safe. This aluminum deck railing has been ASTM tested for strength and reliability, with 36" height, <4" baluster spacing designed to meet key safety requirements. Unlike railings that simply advertise “safe,” Egadis is backed by third-party testing to give families real confidence. A dependable choice for families, homeowners, and outdoor spaces where safety matters most. For commercial use or CA/WA projects, choose the 42" option to meet local requirements.
3. Set and Level Posts
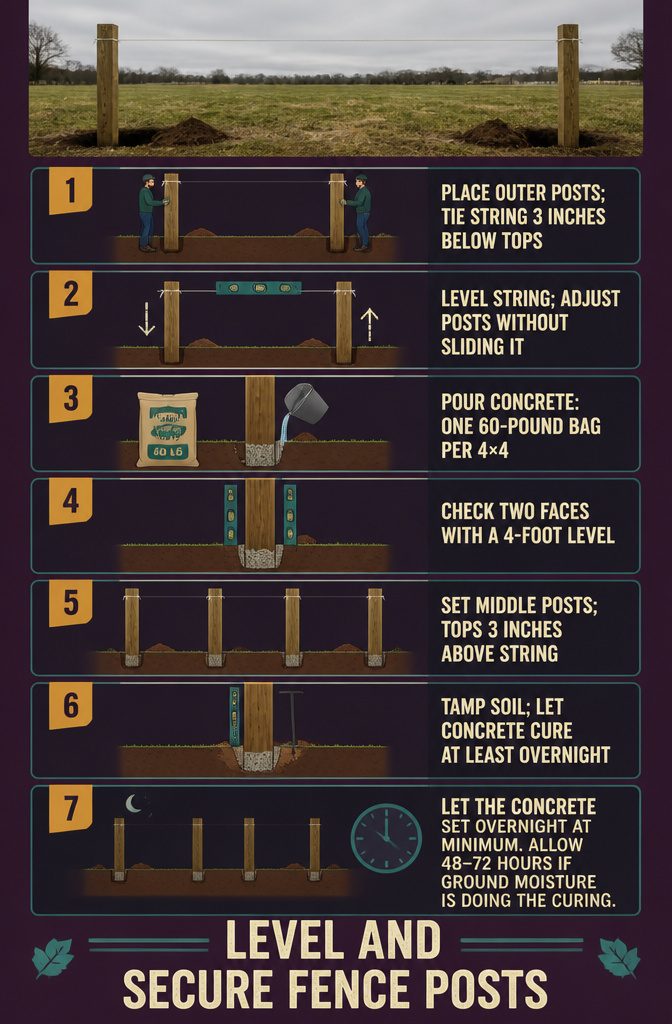
- Drop the two outer posts into their holes and pull a string tight between them, tied 3 inches from the top of each. The posts wobble, so have a helper hold them.
- Raise or lower each post until the string reads level, without sliding the string along the post. Dig the hole deeper to lower a post, or add a little soil to raise it.
- Fill the outer holes with concrete: one 60-pound bag per 4×4 post, two per 6×6. In dry ground, pour water over the mix so it can harden.
- Check each post with a 4-foot level on two faces to confirm it isn’t leaning.
- Set the middle posts the same way, with each top 3 inches above the string.
- Pack the leftover soil around each post with a steel tamping bar.
- Let the concrete set overnight at minimum. Allow 48–72 hours if ground moisture is doing the curing.
Recommended Products
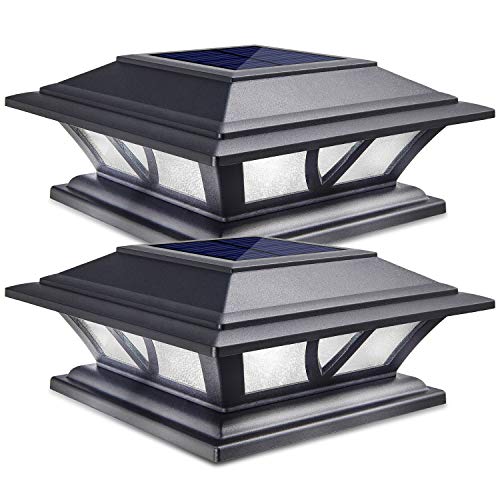
[2 Light Modes] Siedinlar solar post cap lights feature two lighting modes: Warm White (3000K) and Cool White (6000K). Equipped with 4 bright LEDs and a high-efficiency cone reflector, each light delivers 15 lumens of balanced illumination for decks, fences, gates, and railings.

【2 Color Modes for Any Mood】Need warm white for a cozy evening gathering or cool white for clear lighting? Just press the button to switch. With 20 lumens and 16 high-efficiency LED beads, the clear lampshade diffuses light softly—no glare, just a pleasant glow for your patio, deck, or pool

ROUNDED SAFETY CORNERS — SAFE ON DECK RAILINGS. Unlike caps with sharp square corners that scratch hands or snag clothing, ours are smoothly rounded — a safer choice anywhere people reach past them, and ideal for homes with kids and pets.
4. Install the Rails
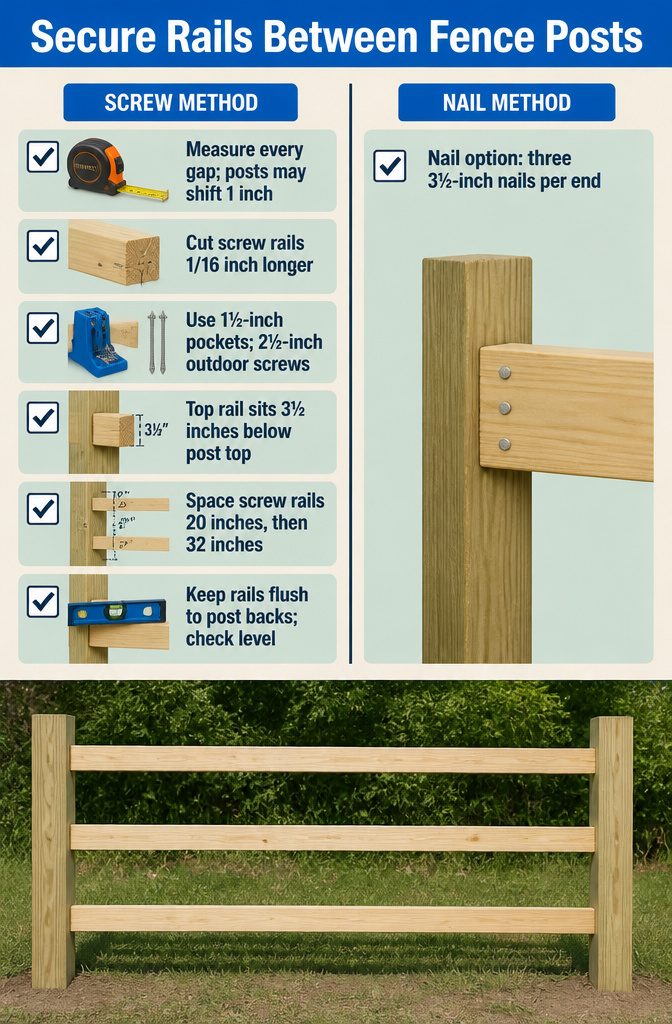
Two ways to hang three 2×4 rails between each pair of posts:
- Pocket-hole screws: Measure every gap, since posts can shift about 1 inch while setting. Cut each rail about 1/16 inch longer than measured so it wedges in and holds while you drive screws. Drill 1½-inch pocket holes in the ends and use 2½-inch outdoor-rated pocket-hole screws.
- Screw spacing: Top rail 3½ inches below the post top, middle rail 20 inches below the top rail, bottom rail 32 inches below the middle. Keep all three flush to the back of the posts and check each with a level.
- Ring-shank nails: Set the top rail, then space the middle and bottom rails 2 feet 5 inches apart. Drive three 3½-inch galvanized ring-shank nails at each rail end, six per rail.
Working alone, I’d pick the screws, because the snug fit holds the rail for you.
5. Attach the Pickets
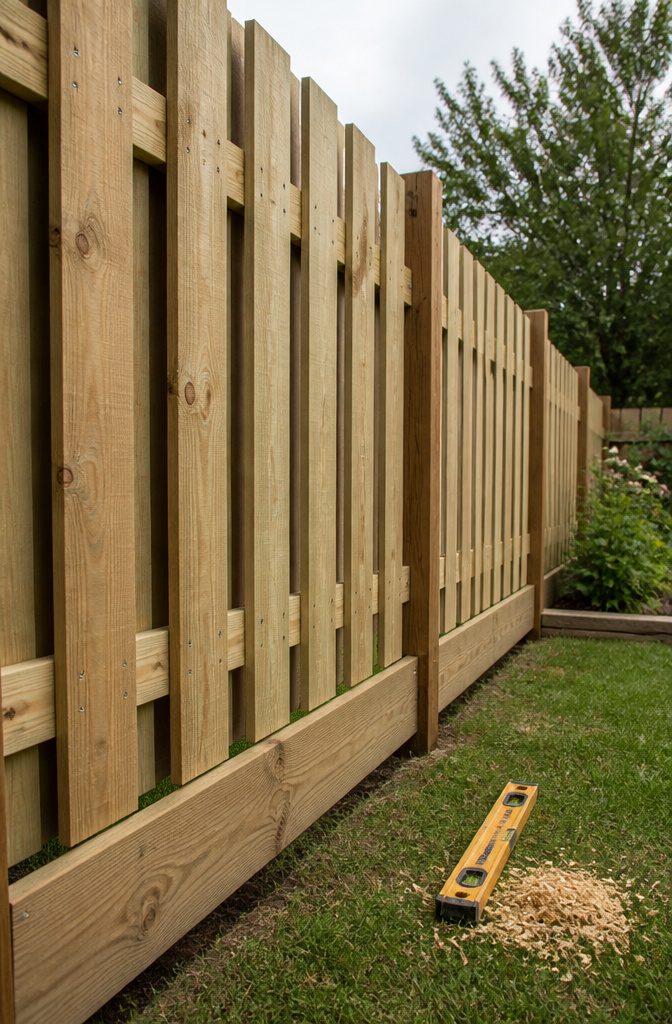
Set the first picket with a 1–2 inch gap above the ground and its top about 5 inches above the post top.
Check it for plumb and level before you fasten it. Drive two 2-inch galvanized ring-shank nails into each rail, which comes to 6 nails on a 6-foot picket across 3 rails.
Butt each new picket against the last, and recheck plumb and level every section so one warped board doesn’t carry its error down the line.
For a solid lower panel, cut each 1×6×6 board into two 34-inch pieces. Mark a center line between the posts and work outward from it.
I’d use 1¼-inch outdoor-rated screws here, two at the top and two at the bottom of each board, since a screw backs out cleanly if a board lands crooked.
Recommended Products

TRUE ALL-ALUMINUM — BUILT FOR LONG-TERM VALUE: Ordinary steel or mixed-metal products can be progressing from surface corrosion to rust-through—often reported online within 0.5–2 years. So this is not simply about cosmetic maintenance—removing rust and repainting the surface. Once corrosion progresses to rust-through, the metal itself has deteriorated, potentially compromising the structural integrity and eventually requiring replacement of the affected component or structure. LukLoy post is built with a true all-aluminum structure for lasting outdoor over 30 years. it resists weathering, fading, and everyday exposure with less maintenance — a smarter long-term investment for your home.

1 SCREEN PURCHASE: You will receive preassembled materials to construct 1 cedar wood outdoor privacy screen in a charcoal finish with your purchase

Versatile Fence Posts for DIY Privacy Screens – Features dual screw hole patterns (12holes) for easy installation on hard surfaces. Compatible with 3/4"-thick boards ( 5.5" height), allowing flexible customization of your privacy fence
6. Finish the Fence
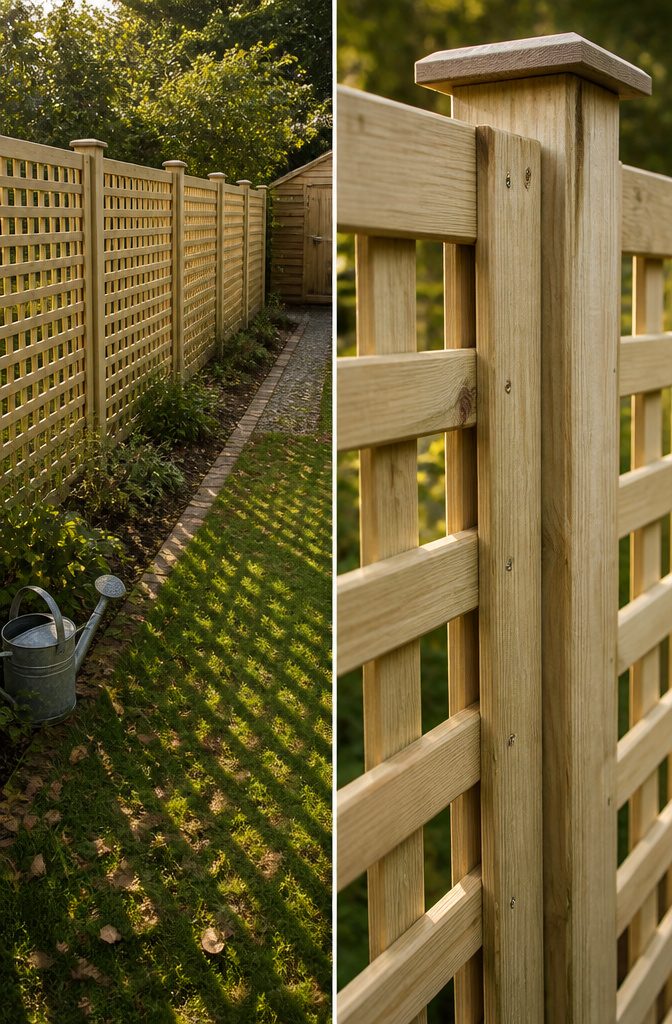
Cut each lattice panel about 3 inches longer than the gap between posts.
That leaves 1½ inches of overlap per side to fasten to. A 4×8 sheet cut in half with a jig saw gives you two 2×8 pieces and costs less than buying 2×8 panels, so I’d go that route.
Fasten the lattice from the back with outdoor-rated screws. Staples that aren’t rated for outdoor use hold for a while, then rust out.
Post caps come in many styles.
The instructions usually call for caulk, but outdoor-rated wood glue works too. Once it dries, the fence is done.
Fresh, wet treated wood doesn’t take paint or stain well, so leave it bare for a few months while it dries. Gates are covered in a separate guide.
Materials and Tools
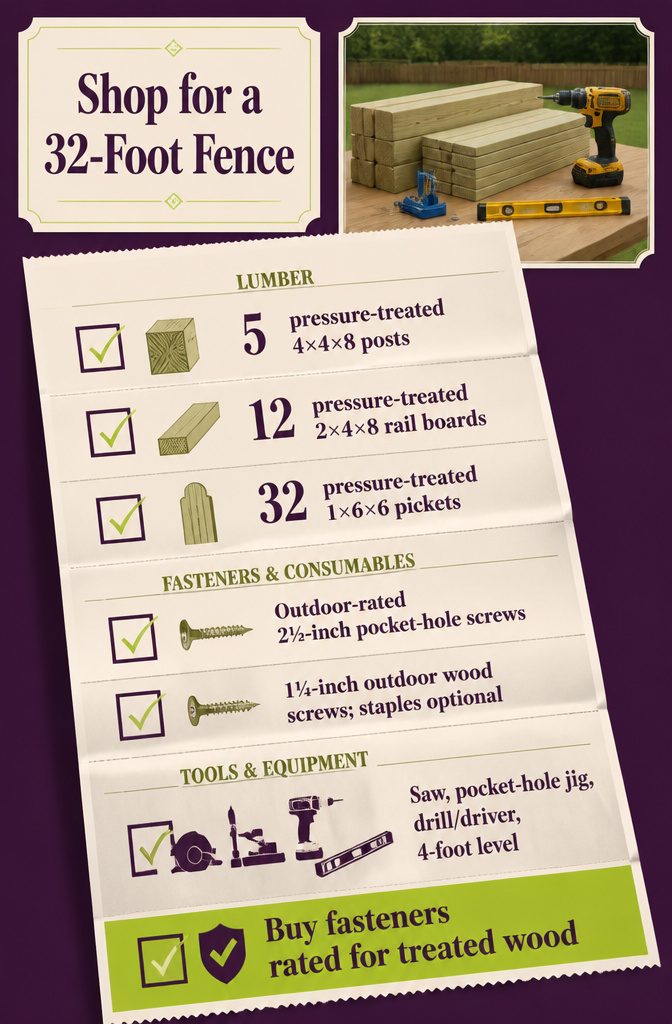
The 32-foot privacy fence needs this shopping list, all lumber pressure treated:
- 5 treated 4×4×8 posts
- 12 treated 2×4×8 boards for the rails
- 32 treated 1×6×6 pickets
- 2½-inch pocket-hole screws rated for outdoor use
- 1¼-inch outdoor wood screws
- Staples, optional
- A saw that cuts straight lines, a pocket-hole jig and a drill/driver
- A 4-foot level, plus a line-level kit and string
Treated lumber needs fasteners designed for use in treated wood, so check the box before you buy.
Cedar works too, but it costs far more than treated, and on a small yearly budget I’d skip it. If you nail the pickets instead of screwing them, use 2-inch galvanized ring-shank nails.
Recommended Products

PLASTIC DANCING FLAME SOLAR POST LIGHTS: 6 pack modern post cap lights powered by solar, each with 12 pcs warm white SMD LED, they are the perfect decorative outdoor lighting and no electricity required. Solar LED flickering flameless candles lights, add a 360 degree viewing angle illuminate charming to your garden, decorate your fence, deck, porch or yard. Measurement: 5.5 x 5.5 x 10.5 inches

Fit a Wide Range of Post Sizes: Our fence post solar lights are compatible with 4x4 in, 5x5 in, and 6x6 in wooden posts (actual sizes: 3.5x3.5 in, 4.5x4.5 in, and 5.5x5.5 in) as well as 4x4 in and 5x5 in vinyl posts (actual sizes: 4x4 in and 5x5 in)

[Fits 4x4, 5x5 & 6x6 Posts Like a Glove] Zero Tools Needed!-Slap aponuo solar post cap lights onto any standard wood fence or deck post (4x4 actual 3.5", 6x6 actual 5.5"), or 4x4, 5x5 vinyl posts in seconds. Comes with 4 adapter bases and screws - no drilling or wiring hassle. The fence post solar lights are perfect for wooden or vinyl setups!
Why Wood Warps and Splits
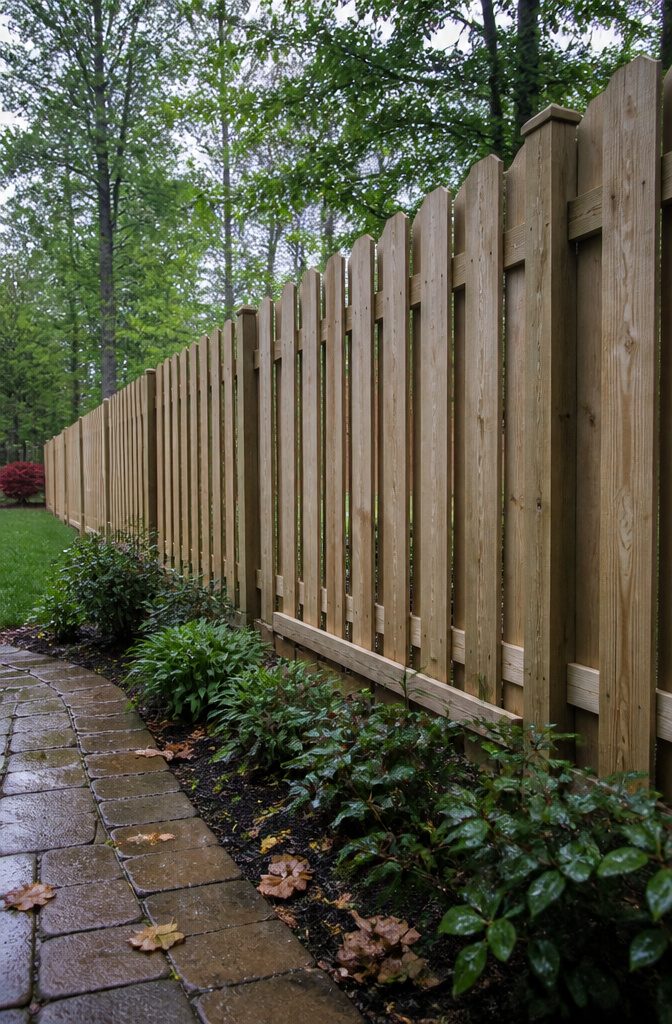
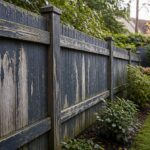
All wood warps, wanes, twists, cracks or splits to some degree, and extreme temperature swings make it more likely.
That is the cost of a wood fence, and no stain or fastener fully prevents it. If a bowed picket would bother you every time you look out the window, vinyl is the better choice.
If you stay with wood, two habits limit the damage. Leave a 1–2 inch gap between the pickets and the ground so the ends don’t sit in damp soil.
Then hold off on stain. Fresh, wet treated lumber doesn’t take stain well, so give it a few months to dry out first.
Recommended Products

FUN SIZE MEASUREMENTS: The roll measures 18 inches x 12 feet. NOTE: THIS IS A SMALLER VERSION OF THE REGULAR BETTER THAN PAPER.

Premium Craftsmanship: Expertly crafted from cabinet-grade Baltic birch plywood, ensuring durability and a smooth, sanded finish

Package includes: You will receive 12 pcs of picket fence cutouts patterns and 3 sheets of adhesive point. Enough quantity to meet your various decorative needs, adding a stylish touch to your space. The size of each fence cutout is: 11.8in × 11in
Frequently Asked Questions
Recommended Products

【Transform Your Outdoor Space】 You've built fences before, but let's redefine modern elegance together with wooden fence panels posts. The install privacy panels fence post delivers a swift installation process paired with timeless sophistication, empowering you to craft sleek, sturdy privacy barriers for gardens, patios, and backyards. Unleash your creativity—your dream sanctuary starts here.

EASY ORDERING: Everything you need for your fence project is in the box except for the final post. Only ONE additional post, BL19112, is required for the end of your project. A gate is available by searching BL19111.
Innovative Design: The fence post bracket set features a U-channel design—simply attach the brackets to the posts and slide in (3/4" x 5.5") wood planks to lock. Easy DIY installation and plank replacement, even for one person, saving time, effort, and labor costs in the short and long term
How deep should fence post holes be?
Dig about 24 inches deep for a 6-foot fence.
The standard is to bury one-third of the fence height, which makes 2 feet the minimum. Frost depth and local code can call for more, so check with your county before you buy posts.
How much concrete do I need per fence post?
Use one 60-pound bag for each 4×4 post and 2 bags for each 6×6 post.
In dry ground, pour water over the mix so it can harden. Check each post with a 4-foot level on two faces to confirm it isn’t leaning.
How long should concrete set before I build the fence?
Wait overnight at minimum.
If ground moisture is doing the curing, allow 48–72 hours. Hanging rails on posts that haven’t set can push them out of position.
How many nails go in each fence picket?
Use 2 nails per picket at each rail, driving 2-inch galvanized ring-shank nails.
A 6-foot picket across 3 rails takes 6 nails. Recheck plumb and level every section so one bad board gets caught before the error carries down the line.
How much gap should I leave between fence pickets and the ground?
Leave 1–2 inches.
The space keeps the picket ends out of damp soil, which limits rot and warping. Set the first picket at that height and use it as the reference for the rest.