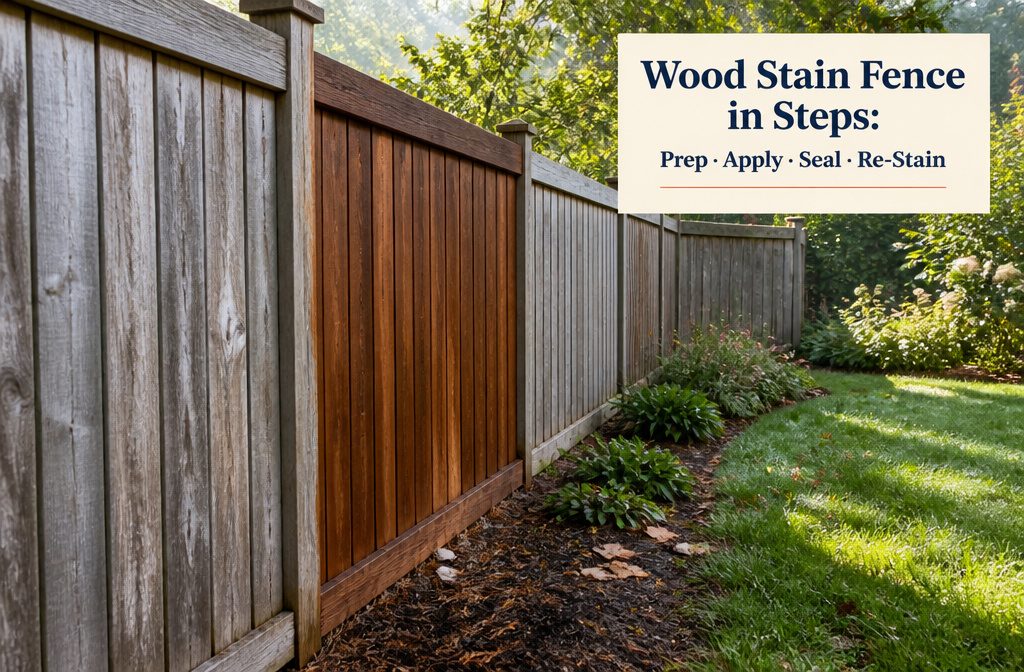
Stain goes on evenly only when the boards are completely dry, even after a thorough washing, so let the fence dry before you sand.
Pick a dry day between 40–90°F too, since rain can dilute or wash away fresh stain. Expect to redo it every 2–3 years, sooner in harsh sun.
1. Prepare the Workspace
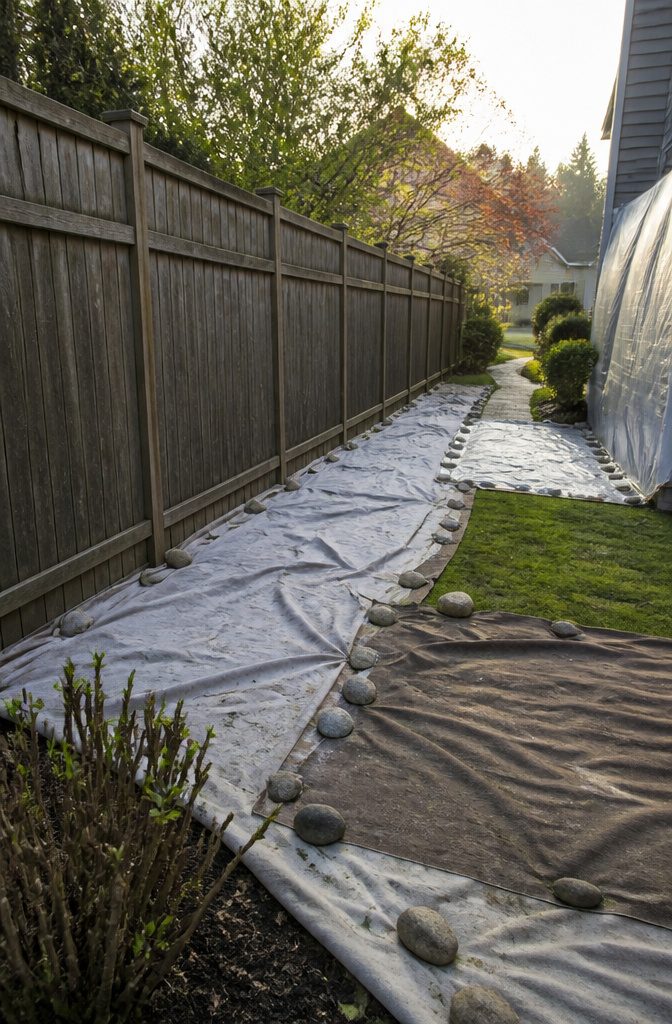
Do this stage before any washing or sanding, because both throw water, dust and grit onto whatever sits near the fence, and you don’t want to move things mid-job. Work in this order:
- Clear everything you don’t want stained: planters, chairs, grill, hose reel and yard decor.
- Cut grass and shrubs back from the boards so a brush or sprayer can reach the bottom of every picket.
- Cover the lawn, any shrubs you couldn’t move, the sidewalk and the house with a tarp. Tarp everything within reach of a drip or spray, including the house wall if it runs close to the fence.
In a small yard, a single tarp rarely covers all of it, so I’d shift it as you move along the fence.
Recommended Products

NO LAPS, RUNS OR STREAKS: Goof Proof formula with no back brushing required; ideal for exterior wood projects

NO LAPS, RUNS OR STREAKS: Goof Proof formula with no back brushing required; ideal for exterior wood projects
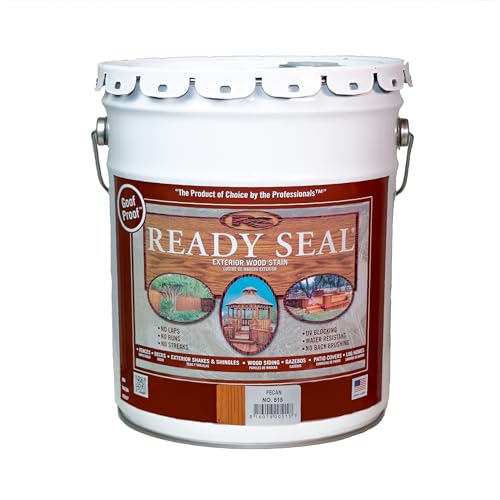
NO LAPS, RUNS OR STREAKS: Goof Proof formula with no back brushing required; ideal for exterior wood projects
2. Prepare the Fence
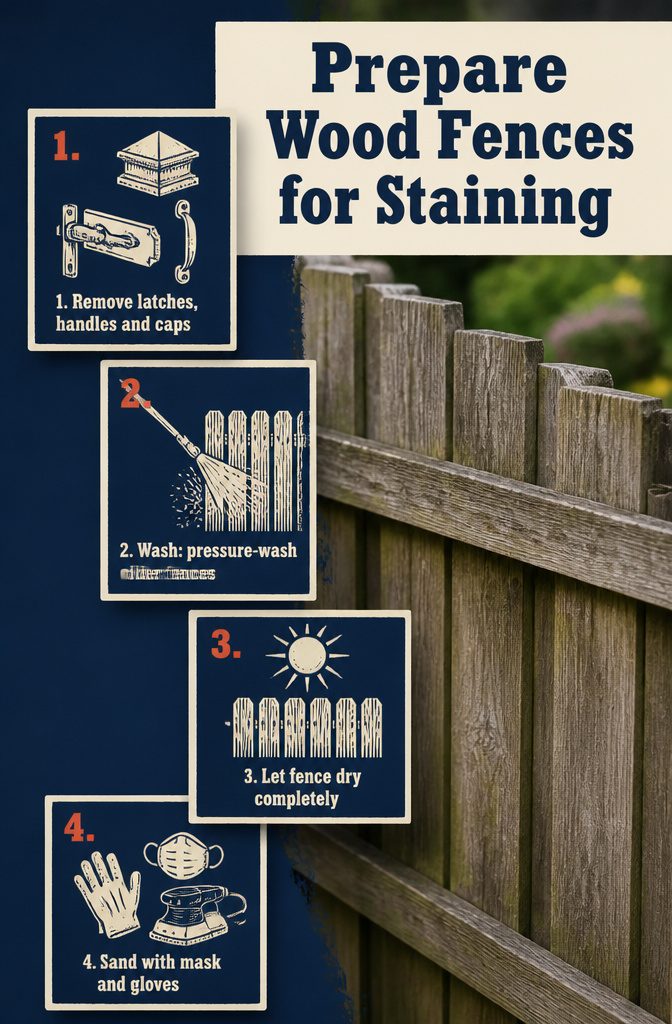
Stain soaks into clean, dry wood and sits unevenly on dirt, algae or damp boards, so each step below protects the finish. Work in this order:
- Remove latches, handles and post caps. You won’t want stain over hardware.
- Wash the fence. An older fence usually needs a pressure washer to lift dirt and algae. A newer fence only needs a light wash.
- Let the fence dry completely before you sand. Damp boards take stain unevenly, even after a good cleaning.
- Sand the surface, wearing a dust mask, gloves and clothes you don’t mind getting dirty.
Recommended Products

HVLP STAIN SPRAYER FOR DECKS, FENCES & OUTDOOR PROJECTS – The Wagner Control Spray QX2 HVLP stain sprayer applies coatings up to 2X faster than a brush, making it easy to stain decks, fences, lattice, outdoor furniture, pergolas, and other small to medium-sized projects

NO LAPS, RUNS OR STREAKS: Goof Proof, oil-based formula now equipped with the powerful Turbo Spray System; ideal for exterior wood projects
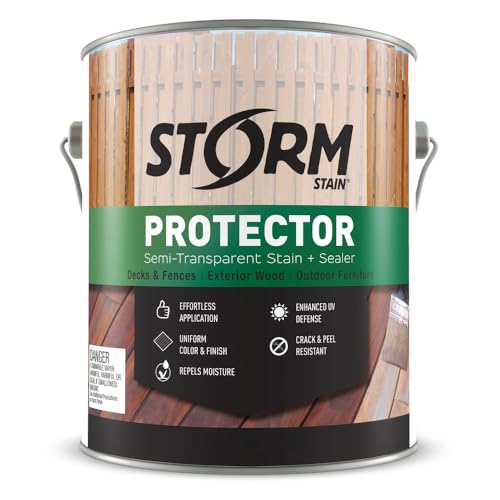
STORM PROTECTOR: Storm Protector is a penetrating, semi-transparent stain and sealer that highlights the natural beauty of the wood grain while providing protection from Mother Nature.
3. Apply the Stain
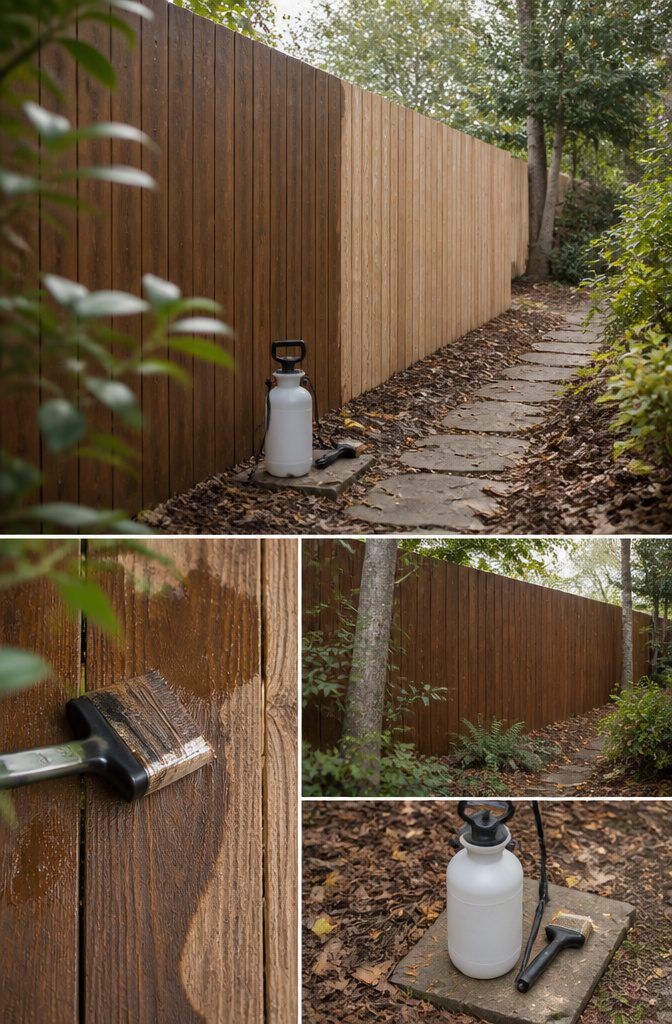
Pick a dry, low-humidity day between 40–90°F. Direct sun can leave lap marks, and rain can delay drying, dilute the stain or wash it away.
With a roller, apply a thin coat in the direction of the fence in 6-inch sections, then brush it into the wood. Runs mean you put on too much.
I’d still choose the sprayer, for the reason Sherwin-Williams gives:
A pump sprayer is the easiest way to stain your fence since the stain tends to go on evenly.
Spray vertically on vertical fences and horizontally on horizontal ones, again in 6-inch sections.
Brush the first coat in before the second. The sprayer also makes reapplying later easier.
4. Seal and Re-Stain Every 2–3 Years
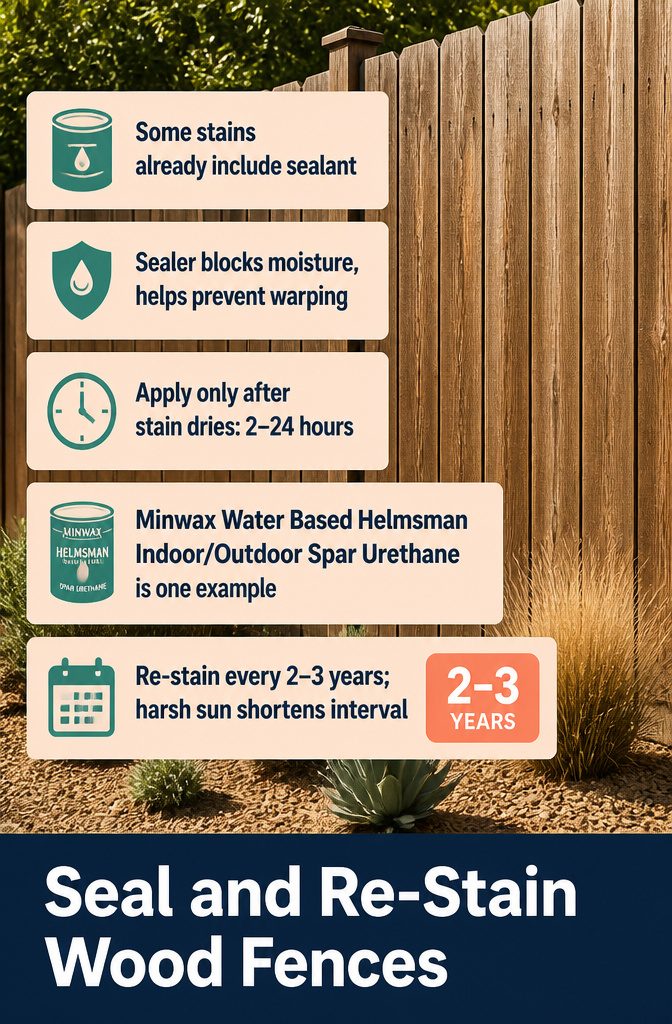
Check the can first, because some stains already contain a sealant and need nothing more.
If yours doesn’t, a sealer evens out the color and keeps moisture out, which helps prevent warping. Minwax Water Based Helmsman Indoor/Outdoor Spar Urethane is one example.
Apply it only once the stain is completely dry. That wait may be a couple of hours or a full 24 hours depending on the product, so follow the label.
Plan to re-stain every 2–3 years. Climate and sun exposure decide where your fence lands in that range, and a fence in harsh sun will want the shorter interval.
Stain fades instead of peeling, so recoating often needs only a light cleaning first, with no scraping or stripping.
Stain Versus Paint
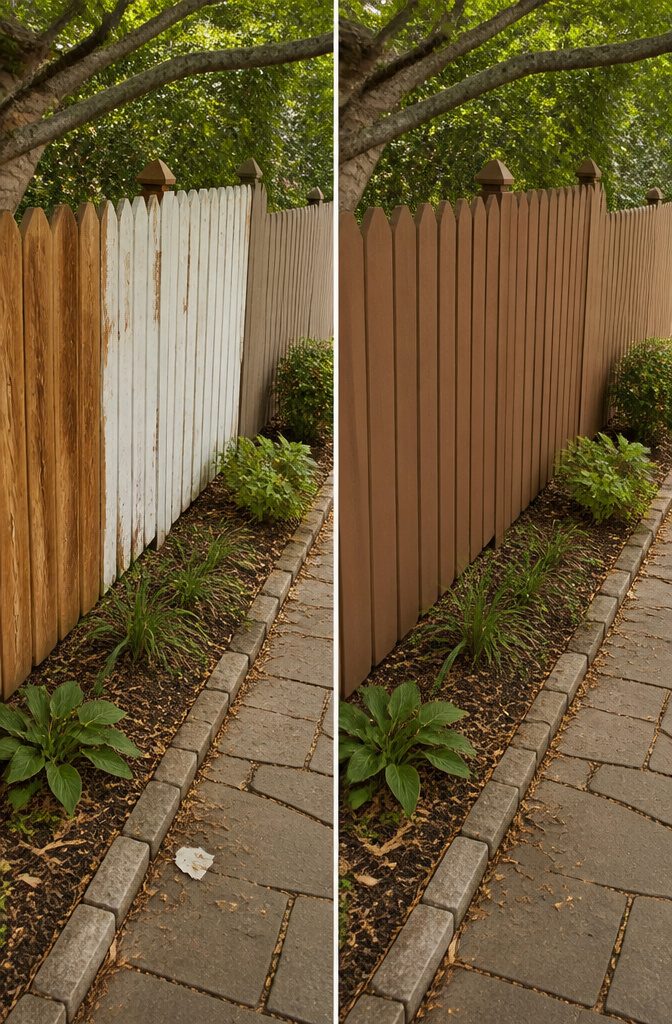
Stain soaks into the wood fibers and shows off the grain, while paint stays on the surface and hides the wood under an opaque coat. On a fence, stain is the easier finish to maintain.
It fades instead of peeling, so a fresh coat usually needs only a light cleaning first. Chipping paint has to be scraped and sanded before every repaint.
A fence that’s already painted can still take stain. Sand the top coat just enough to remove its protective layer, then apply a solid stain.
You’ll get a faux wood look rather than visible grain. For this job, Minwax Gel Stain is the product I’d pick.
Stain Types and Colors
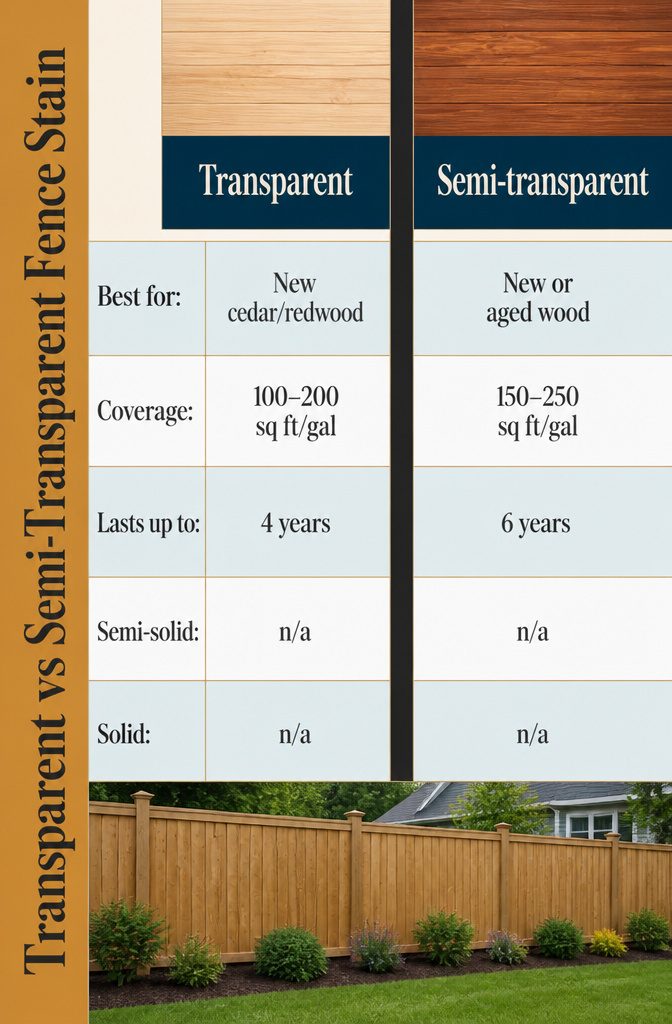
Transparent stain shows off new cedar or redwood; semi-transparent suits new or aged wood.
| Stain | Best for | Sq ft per gallon | Lasts up to |
|---|---|---|---|
| Transparent | New cedar or redwood | 100–200 | 4 years |
| Semi-transparent | New or aged wood | 150–250 | 6 years |
| Semi-solid | n/a | n/a | n/a |
| Solid | n/a | n/a | n/a |
For untreated wood, I’d pick SuperDeck Oil-Based Semi-Transparent. Multiply fence length by height, double it for both sides, then divide by the coverage on the can.
Match the color to the house, yard, fence style, landscaping and neighborhood rules. Warm cedar, deep redwood and dark brown suit privacy fences; grays and mixed tones suit contemporary looks.
Frequently Asked Questions
Recommended Products
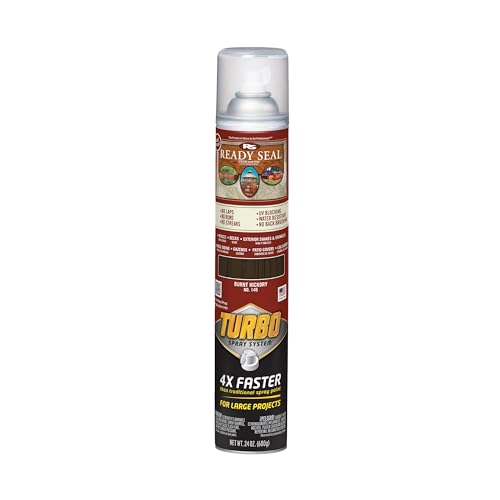
NO LAPS, RUNS OR STREAKS: Goof Proof, oil-based formula now equipped with the powerful Turbo Spray System; ideal for exterior wood projects

[Professional Spray Painting Experience]: The Tilswall Dreamer 600 paint sprayer delivers high volume low pressure precision for flawless results. Dilute paint to ~100 din-s (max 120 din-s) using the included viscosity cup for optimal atomization. From furniture touch-ups and cabinet refinishing to whole-house interior and exterior painting, this electric handheld paint sprayer ensures smooth, even coverage with minimal waste — a reliable paint spray gun for any painting project
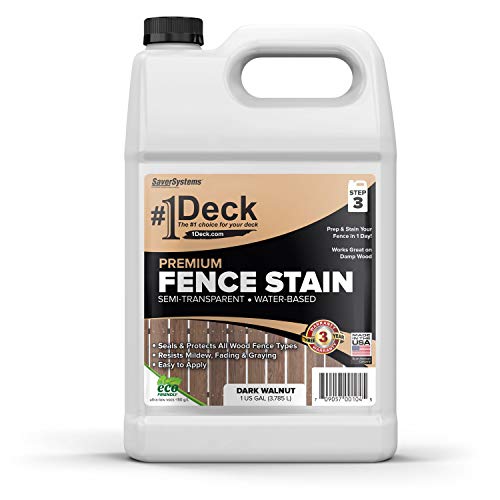
WOOD STAIN AND SEALER IN ONE: This water-based, semi-transparent fence stain and sealer soaks deep into the wood pores; it protects your wood fence from water penetration damage while the natural grain still shows through
What type of stain is best for a wood fence?
It depends on the wood. Transparent stain suits new cedar or redwood and lasts up to 4 years, while semi-transparent works on new or aged wood and lasts up to 6 years.
Is staining a fence a good idea?
Yes, because stain is easier to maintain than paint.
It fades instead of peeling, so a new coat usually needs only a light cleaning first, whereas chipping paint has to be scraped and sanded before each repaint. Expect to re-stain every 2–3 years.
Can you stain a 20 year old fence?
Yes, as long as you prep it first. An older fence usually needs a pressure washer to lift dirt and algae, then time to dry fully and a sanding before any stain goes on.
Semi-transparent stain suits aged wood, and a painted fence can take a solid stain after a light sanding.
What is the best time to stain a fence?
Choose a dry, low-humidity day between 40–90°F. Rain can delay drying, dilute the stain or wash it away, and direct sun can leave lap marks. A time of day when the fence dries in shade helps avoid those marks.