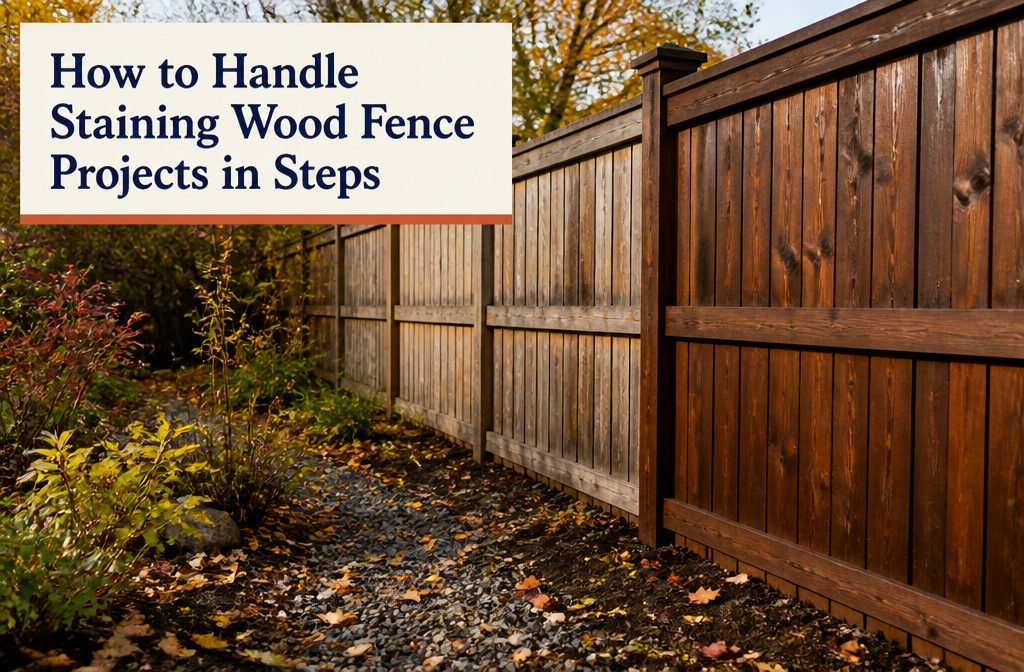
A stained fence runs from $200 in stain (2 gallons covers 550 square feet, since both sides count) plus about 1 hour per panel.
Weather is the stage that goes wrong. Above 80°F, stain dries before it soaks in, leaves lap marks, and can peel within a month, so work at 50–80°F with no rain for 24 hours.
1. Gather Tools and Stain
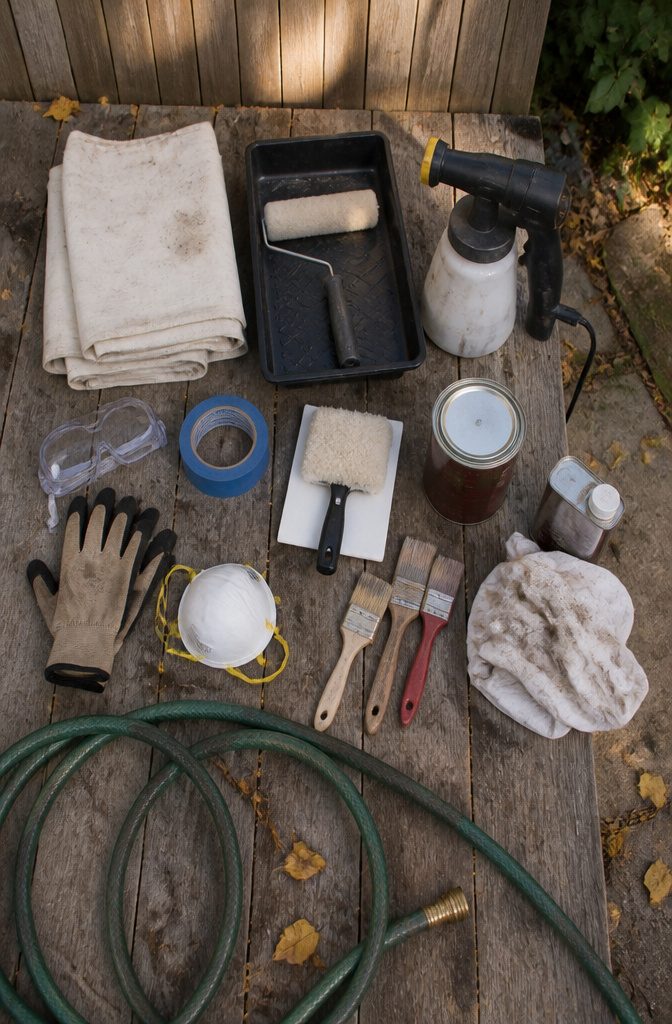
Have these on hand before you open a can:
- A foam or polystyrene roller with a medium ½-inch nap cover, a paint pad, and brushes in several sizes.
- A stain-rated sprayer drips and oversprays, so have someone brush or roll behind it.
- Painter’s tape, plastic or drop cloths, rags, a tray and mineral spirits.
- Gloves, goggles and a respirator.
- Stain at 200–250 sq. ft. per gallon on smooth new wood, 100–200 on rougher boards.
Fence area counts both faces:
You will need 2 gallons of stain per every 550 square feet of fence. Remember, there are two sides to every fence.
— Bob Vila
Budget from $200 for that much stain.
Choose transparent, semitransparent or opaque; hue is a separate choice. Water- versus oil-based is covered below.
Recommended Products

Cordless Paint Sprayer: HOTLOOP Cordless Paint Sprayer is compatible with DeWALT 20V MAX lithium-ion batteries, for DCB200 DCB201, etc. making it extremely portable and cord-less. Provides professionals who already own DeWalt 20V batteries with the flexibility of using their preferred battery. Please note: Batteries and charger are not included

YETOKING Cordless Paint Sprayer – Professional-grade cordless paint sprayer compatible with DeWalt 20V MAX batteries (battery not included), including models DCB200, DCB201, DCB203, DCB204, DCB205, DCB206, DCB207, DCB208, DCB210, DCB230, DCB240, etc.
2. Check the Weather
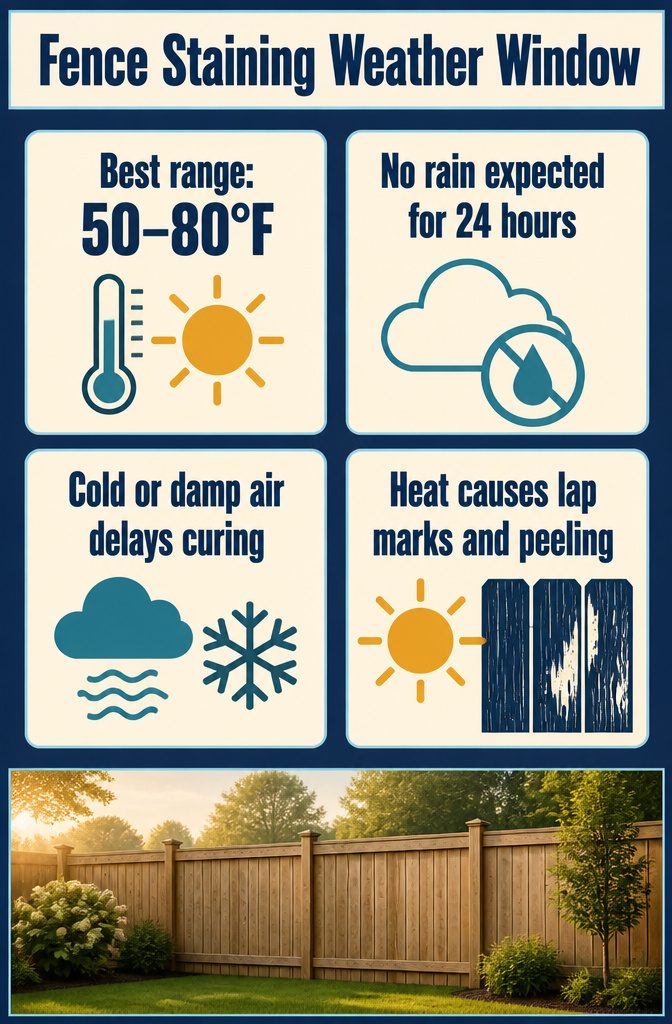
Temperature, humidity and rain decide how stain dries, so check the forecast before you open a can. The widest range you’ll see for staining is 50–90°F, and a tighter one stops at 80°F and adds low to moderate humidity.
I’d pick the tighter one: 50–80°F with no rain expected for 24 hours. Cold or damp air slows drying and can keep stain from curing or soaking in.
Heat does the opposite. Stain dries before it penetrates evenly, leaves lap marks where strokes overlap, and can peel within the first month.
Plan to work in early morning or late afternoon, when the sun isn’t beating directly on the boards. Stain usually needs 24 hours of dry weather to cure, so a shower the next day can ruin the finish.
Recommended Products

Our no-shed microfiber roller covers ensure a perfect paint or stain finish for stunning results.

DURABLE SUPPORT: High-density foam strengthens the massage roller for a stiff surface ideal for stretching, warm-ups, cooldowns, as a back cracker, and for back support; the back stretcher maintains its shape even with consistent use

PURDY PAINT ROLLER COVERS – Purdy WhiteDove roller covers provides a smooth, lint-free finish. Handcrafted in the USA, this Purdy roller paint cover is ideal for drywall, ceilings, and floors.
3. Prepare the Fence
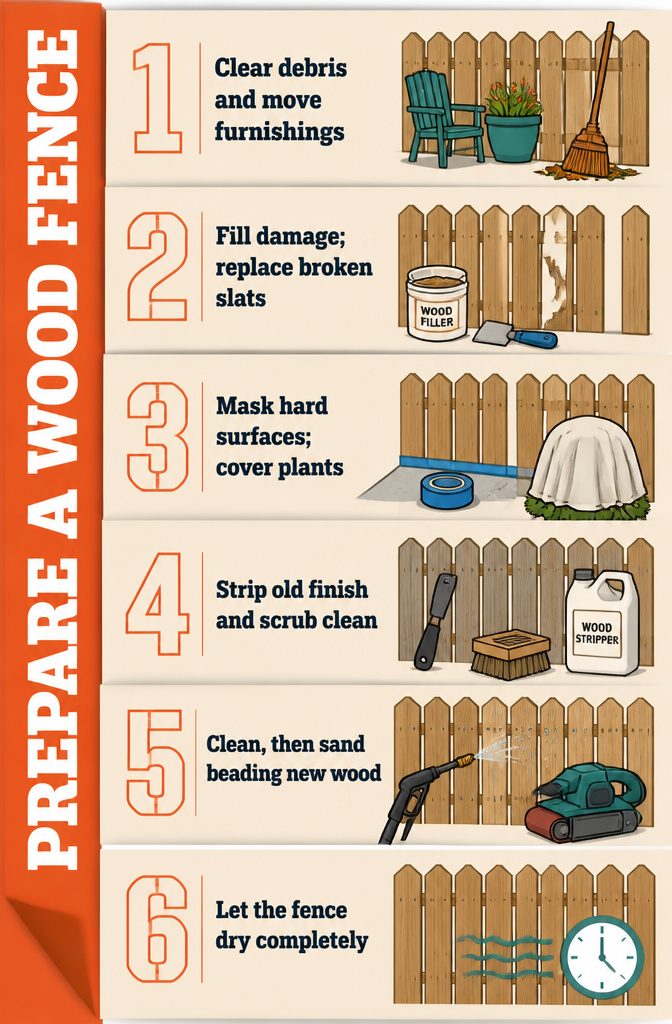
- Clear furniture and planters, then sweep away debris.
- Fill chips, gouges and cracks with wood filler, and replace damaged slats.
- Tape off siding and concrete; cover nearby plants.
- On an old fence, strip or sand the finish, then scrub with a stiff-bristle brush. Unsure what’s on it? Rub stripper on a hidden spot: easy wipe-off means water-based, so match it.
- Spray mildew with diluted bleach, wait a few minutes, then rinse. Deck cleaner also works.
- Power wash along the grain with a 45-degree tip at 1,200–1,400 psi, testing a small spot first and staying under 2,000 psi.
- On new wood, mist a section: beading means sand with the grain (a belt sander suits rough cedar).
- Let the wood dry completely.
Recommended Products

Bates deck stain brush set includes 2 high-quality brushes designed specifically for staining decks and other large wood surfaces.

Versatile Size Collection: Includes three deck stain brushes (4, 5, 6-inch) and a 3-section extension pole (33.5-inch) - perfect for using as a limewash brush, deck stain brush, or masonry brush for any painting projects.
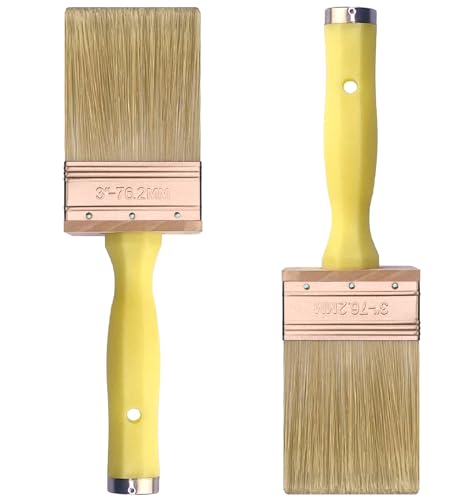
Great Andrew 2 Pack 3 Inch Deck Paint Brushes are 1 inch thick and hold 40% more paint than a common 3" brush, allowing you to finish painting faster and better.
4. Apply the Stain
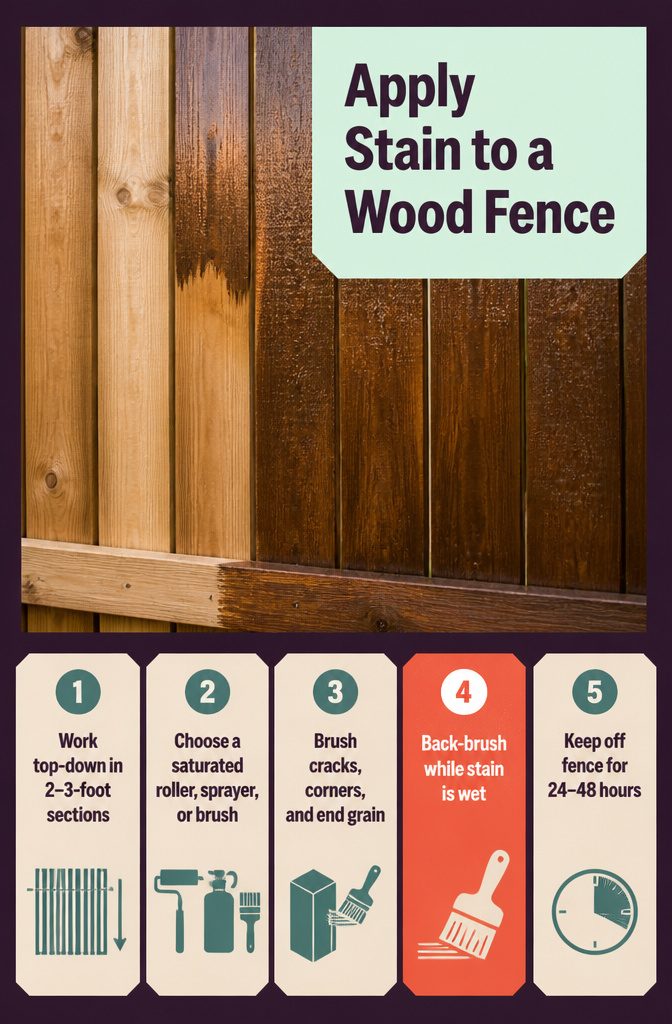
- Begin at the top of a 2–3 foot section and work down. Keep the leading edge wet so each pass blends into the last instead of leaving lap marks.
- Choose your tool. A roller needs a ½-inch nap cover, fully saturated with stain. A sprayer must be one made for stain, or it clogs. With a brush, stain only 1–2 slats at a time.
- Brush the cracks, corners and end grain by hand, since rollers and spray miss them.
- Back-brush while the stain is still wet after rolling or spraying. It pushes stain into grooves and smooths drips.
- Stay off the fence for 24–48 hours.
Plan on about 30 minutes of work per panel, or 1 hour counting everything.
Recommended Products

Professional-Grade Oil Painting Diluent: Our Odorless Mineral Spirits feature a highly refined solvent formula designed to efficiently dilute oil-based paints, stains, and varnishes while blending with them seamlessly. It ensures a smooth mixture with oil paints and effectively prevents yellowing, thereby extending the archival life of your artwork.

【High-Purity Mineral Spirits】Refined to preserve natural minerals, KOVIEDE odorless mineral spirits removes harmful additives, eliminates impurities through desulfurization, ensures smooth mixing with oil-based pigments, prevents yellowing, and extends artwork longevity

Cleans up interior jobs
5. Add a Second Coat
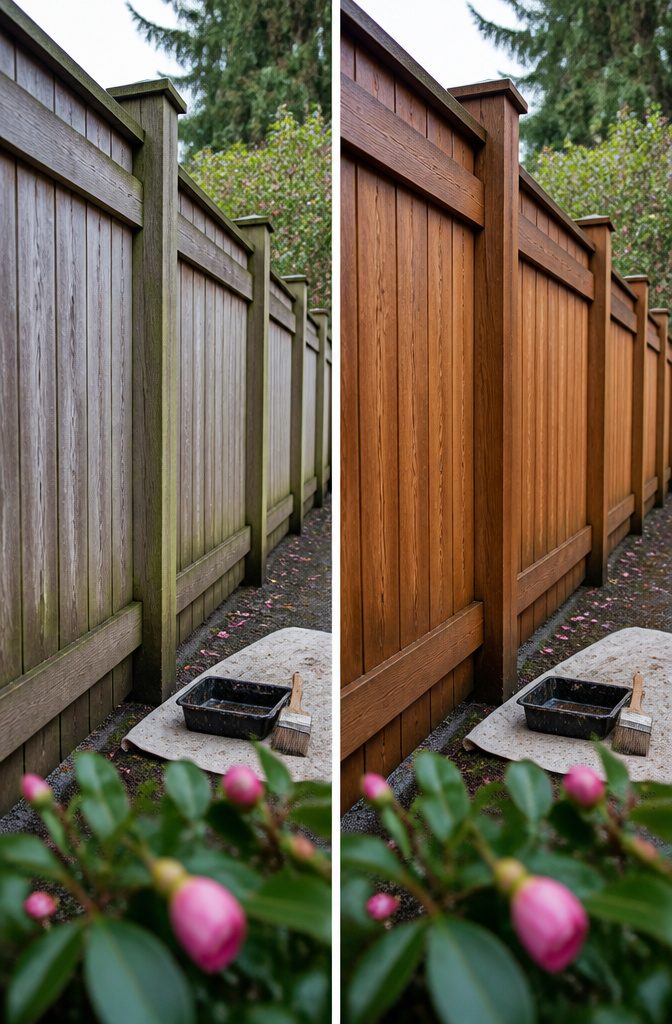
A single coat is usually enough on a new fence, or on one you plan to seal.
A second coat earns its place when you want deeper color or when the first pass left missed spots, which are easy to overlook on board edges and around posts.
Timing is where advice splits.
You can wait a few weeks before recoating, or go back once the first coat has dried. I prefer the second route: recoat as soon as the manufacturer’s drying time is up.
Waiting leaves bare patches exposed to weather and makes the fence look uneven in the meantime. Check the can for the exact interval, since it varies by product.
Either way, keep both coats light. A thick coat turns splotchy and can peel once it dries.
Recommended Products
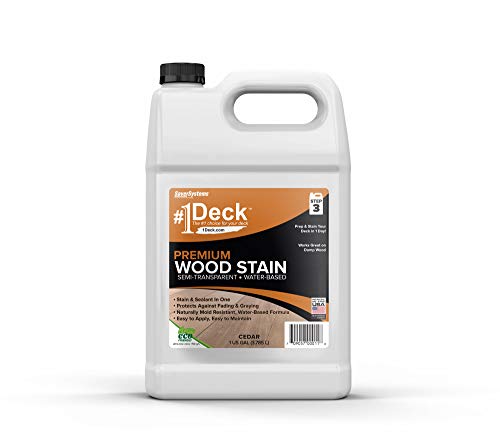
SEMI TRANSPARENT EXTERIOR WOOD STAIN: Our outdoor wood stain and sealer allows the natural wood grain to show through, highlighting the beauty of your decks, fences and sidings and preserving its natural look.

READY-TO-USE DECK STAIN & SEALER: Olympic WaterGuard woodland cedar semi-transparent wood stain and sealant combines color and waterproofing in one water-based, ready-mix coat.

Provides richer, more natural color to interior wood furniture, cabinets, doors, trim, floors and paneling
6. Seal the Fence
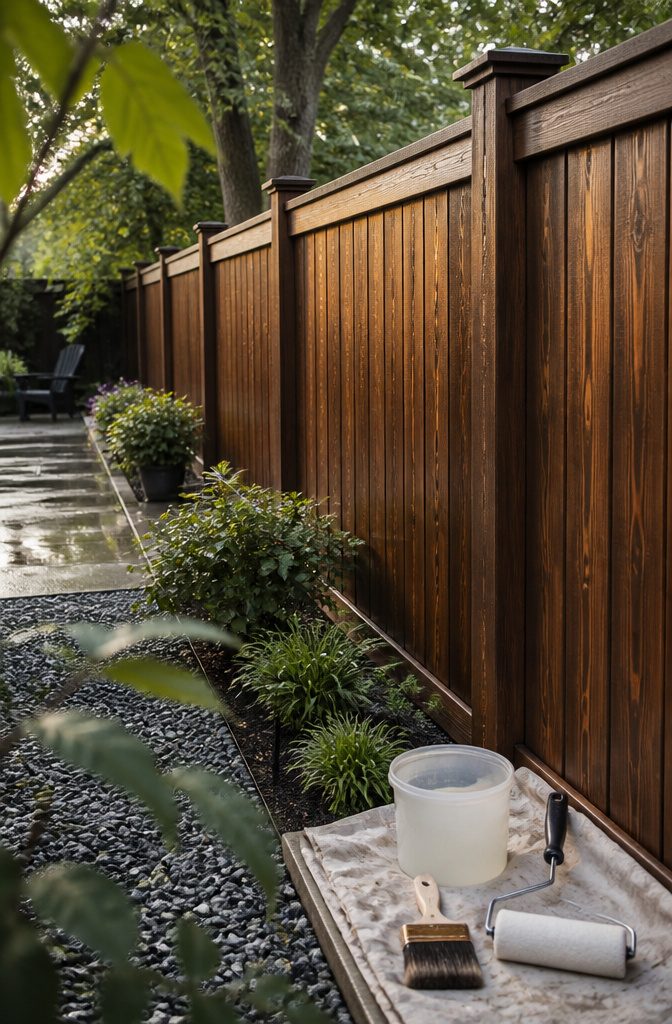
Sealant is optional. A good quality stain alone protects a fence from everyday wear, so skipping this step won’t leave the wood exposed.
A clear, durable coat over the stain can still prolong the finish and the life of the fence, and I’d add it on any fence you’d like to refinish less often.
If the budget is tight, stain first and seal later.
Apply a single coat of clear, weatherproof sealant with a brush, roller or sprayer.
Follow quickly with a wide brush to back-brush the grooves and recesses the tool left unsealed, which keeps the look uniform. Then let it dry completely before anyone leans on the fence or the dog brushes past.
Recommended Products

Life changing paint sprayer: this paint sprayer requires less thinning compared to finish max or other hand-held paint sprayers

1000W Powerful Motor: Equipped with a 1000W motor, this HVLP paint sprayer delivers steady and efficient spray output for furniture, cabinets, fences, doors, walls, and other indoor or outdoor painting projects.
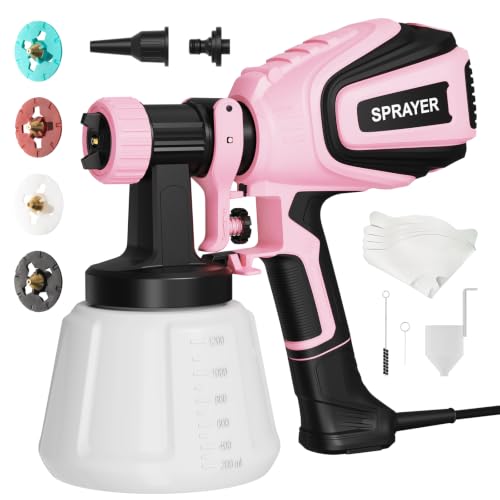
【4 Nozzles & 3 Spray Patterns】VONFORN 700W paint sprayer comes with 4 nozzle sizes (1.0mm, 1.5mm, 2.0mm and 3.0mm) and 3 adjustable spray patterns: horizontal, vertical and circular. Choose the setup for your DIY project, from refreshing furniture and cabinets to painting fences, doors and garden chairs.
7. Clean Up
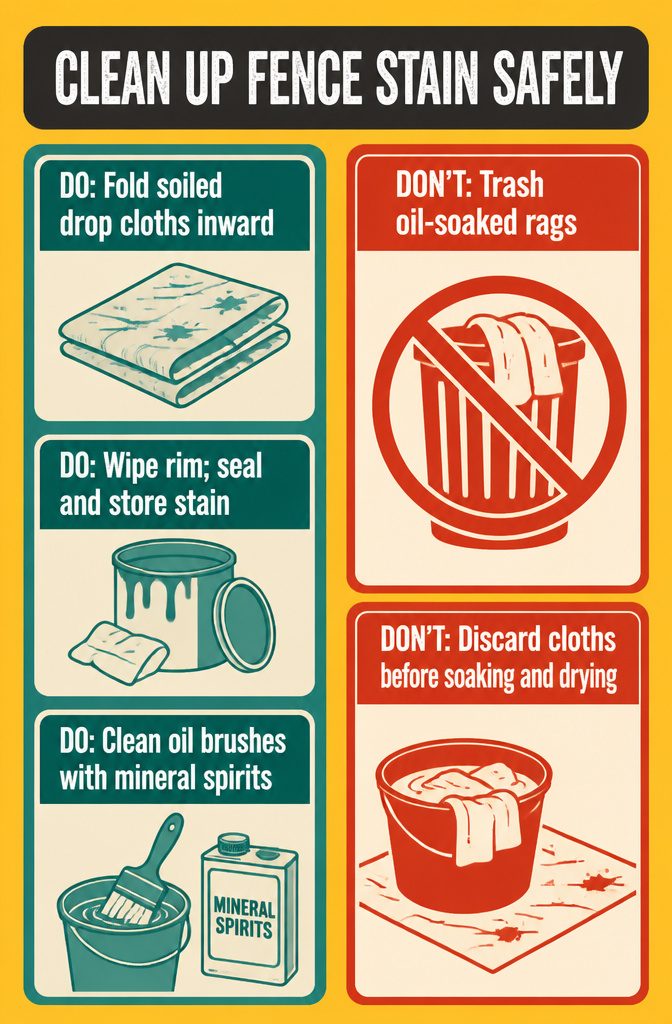
Clean up while the stain is still wet enough to wipe, since dried stain on tools and tarps is hard to get off.
- Lift the tape and drop cloths slowly, folding the soiled side inward so stain doesn’t drip onto the lawn or patio.
- Wipe the rim of the can, press the lid on firmly, and store the leftover stain upright for touch-ups.
- Clean brushes used with oil-based stain in mineral spirits, working the bristles until the liquid runs clear.
- Never put oil-soaked rags in the trash. Soak them in water, then spread them out until fully dry before you dispose of them. Oily rags can heat up as they dry and catch fire.
- Soiled drop cloths get the same treatment: soak, dry completely, then discard.
Recommended Products

High-density foam roller in Black
Foam roller in Black

TRIGGER POINT RELEASE - Helps gently release trigger points and loosen tight muscles for improved flexibility, especially in commonly tight areas like the back, calves, IT band, hamstrings
Water-Based vs. Oil-Based Stain
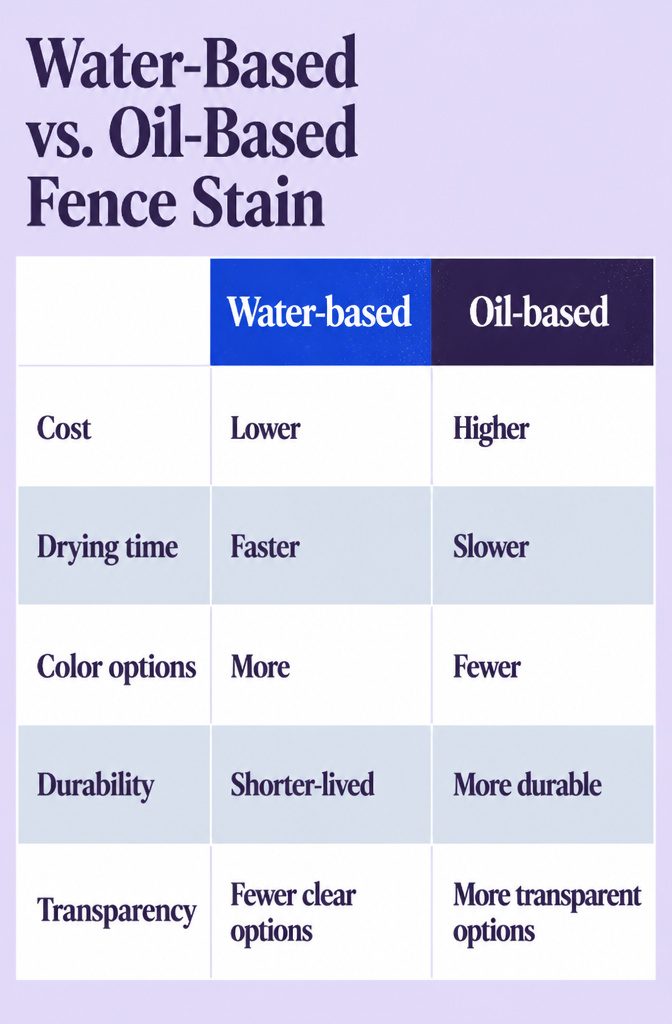
Water-based stain suits most first-time fence projects: it costs less, dries faster and comes in more colors. Oil-based lasts longer and looks more even.
| Water-based | Oil-based | |
|---|---|---|
| Cost | Lower | Higher |
| Drying time | Faster | Slower |
| Color options | More | Fewer |
| Durability | Shorter-lived | More durable |
| Transparency | Fewer clear options | More transparent options |
Cedar and pine soak up oil-based stain quickly, so you use less. Cedar’s natural oils can resist water-based stain unless you prep first, and pine needs extra prep too.
Dense walnut and mahogany repel water-based products. Tigerwood resists rot on its own.
For a greener fence, choose low-VOC water-based or natural oil-based stain. Never mix water-based and oil-based products.
Recommended Products

Bates deck stain brush features a 7.5-inch width for expansive and even application, ideal for efficiently staining decks, fences, and other large wooden areas.
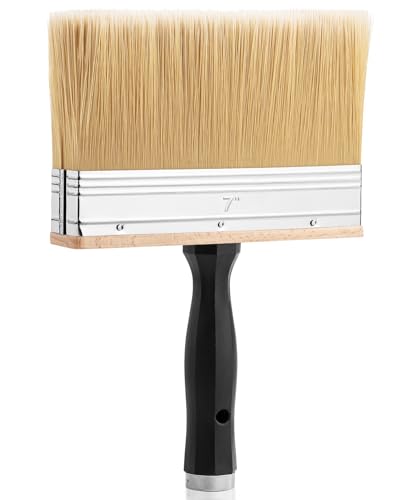
Bates deck stain brush features a wide 7-inch brush head, perfect for covering large surfaces quickly and efficiently.

HIGH GRADE NYLON BRISTLES: This 5" block paint brush is made of premium soft curved nylon bristles, which can get in all areas for an evenly paint distribution. The wavy synthetic filaments allow a great capacity of holding paints, work efficiently and smoothly with precise control while doing painting jobs. No hair loss, resulting in a high-quality finish on walls and other surfaces. The bristle is easy to clean and maintain its shape after washing, get ready for next use
When to Restain
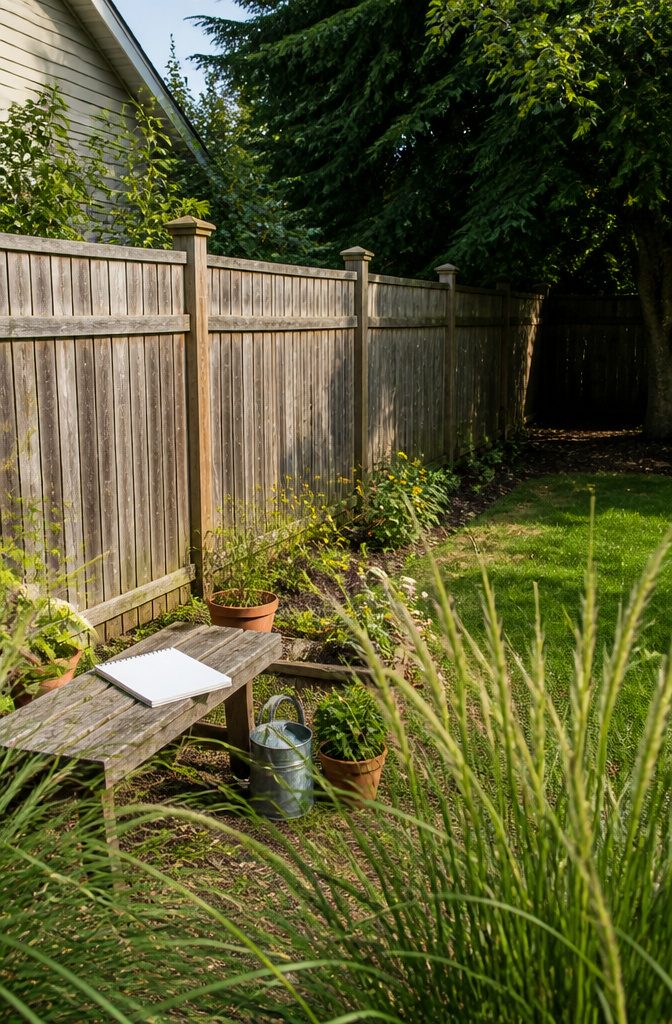
Plan on restaining every 2–3 years. A stain can last up to 5 years, but only when the fence sees mild weather and the coat went on well.
Extreme temperatures and heavy rain or snow age the finish early, so a fence in full sun or a wet corner of the yard belongs at the 2-year end, and I’d write the date on the calendar the day you finish.
Stain type and application quality move the timeline too, and a thin, rushed coat will wear out sooner than the averages suggest.
To time the job, watch the sheen. Once it fades, the stain is losing its weather protection, and recoating then beats waiting for actual weather damage.
Recommended Products

The finest paint thinner available

PROFESSIONAL-GRADE OIL PAINT THINNER: Our odorless mineral spirits is made from high-quality, pure, odorless mineral oil, free of aromatic solvents. This premium formula effectively thins oil paints, colorants, and varnishes, ensuring a smooth mix without affecting color or finish

👃Low Odor Formula: Many mineral spirits have strong, overpowering fumes; this odorless mineral spirits have 65% lower fumes, which makes painting and cleaning tasks much more comfortable.
Frequently Asked Questions
Recommended Products

【STAIN & SEAL】- DWIL outdoor wood stain combines staining and sealing in one simple step, helping reduce the need for separate primers or topcoats on many small wood projects. It adds a warm peach wood color while enhancing the natural wood grain, making it a convenient choice for DIY furniture refreshes, touch-ups, and small outdoor updates.

NO LAPS, RUNS OR STREAKS: Goof Proof formula with no back brushing required; ideal for exterior wood projects

NO LAPS, RUNS OR STREAKS: Goof Proof formula with no back brushing required; ideal for exterior wood projects
Do I need to stain my wood fence?
Staining is not required, but it protects the wood and extends the life of the fence. A good stain handles everyday wear on its own.
A semitransparent oil-based exterior stain also slows mildew and rot and blocks UV light. A clear sealer over the stain is optional.
How often should I restain a wood fence?
Plan on every 2–3 years. A stain can last up to 5 years in mild weather if the coat went on well, but a fence in full sun or a wet corner of the yard sits at the 2-year end.
Recoat once the sheen fades, before weather damage shows.
Can the type of wood affect how it takes stain?
Yes. Cedar and pine soak up oil-based stain quickly, so you use less, but cedar’s natural oils can resist water-based stain unless you prep first, and pine needs extra prep too.
Dense walnut and mahogany repel water-based products. Tigerwood resists rot naturally, which helps the finish last.
Are eco-friendly wood stains available?
Yes. Low-VOC water-based stains and natural oil-based stains are both options for a greener fence.
Water-based products also cost less and dry faster. Don’t combine water-based and oil-based products in the same job.
Can you stain an old fence or wood that has already been treated?
Yes, as long as you prep it first. Strip or sand the old finish, scrub the boards, treat any mildew, and replace damaged slats.
Then power wash at 1,200–1,400 psi, staying under 2,000, and let the wood dry fully. Rub stripper on a hidden spot to learn what the old finish is: if it wipes off easily, it is water-based, and the new stain should match.